An audio interface is the least glamorous part of a recording setup, but it has a direct job: getting sound into and out of your computer without adding obvious noise, distortion, or frustrating delay. After 12 years mixing records in Nashville, I have learned that the best audio interface is rarely the one with the loudest marketing. It is the box with clean inputs, reliable drivers, useful controls, and enough connections for the way you actually make or hear music.
If you record vocals, guitar, podcasts, or software instruments, an audio interface can be a genuine upgrade over a laptop headphone jack. It can also be unnecessary if you only stream music through powered speakers. This guide separates those cases and explains where your money makes an audible difference.
What an audio interface actually does
At its simplest, an audio interface converts an analog signal into digital data for your computer, then converts digital audio back into an analog signal for headphones or speakers. That process involves two important sections: the analog-to-digital converter, often called the ADC, and the digital-to-analog converter, or DAC. The microphone preamp sits before the ADC and raises a quiet microphone signal to a usable level.
That sounds technical, but the practical questions are simple. Can the preamp provide enough clean gain? Does the headphone output get loud enough without sounding strained? Are the inputs quiet when nothing is plugged in? Does the computer connection remain stable during a long session?
Modern entry-level units generally perform well enough that frequency response and distortion are not the main concern for casual recording. A Focusrite Scarlett 2i2, MOTU M2, Audient iD4, or SSL 2 can produce clean results with ordinary microphones. The differences are more obvious in controls, metering, headphone power, and workflow than in some magical layer of musical detail.
Do not confuse an interface with a headphone amplifier alone. A dedicated DAC can improve connectivity for playback, while an audio interface is designed around recording inputs, monitoring, and low-latency communication with a computer.
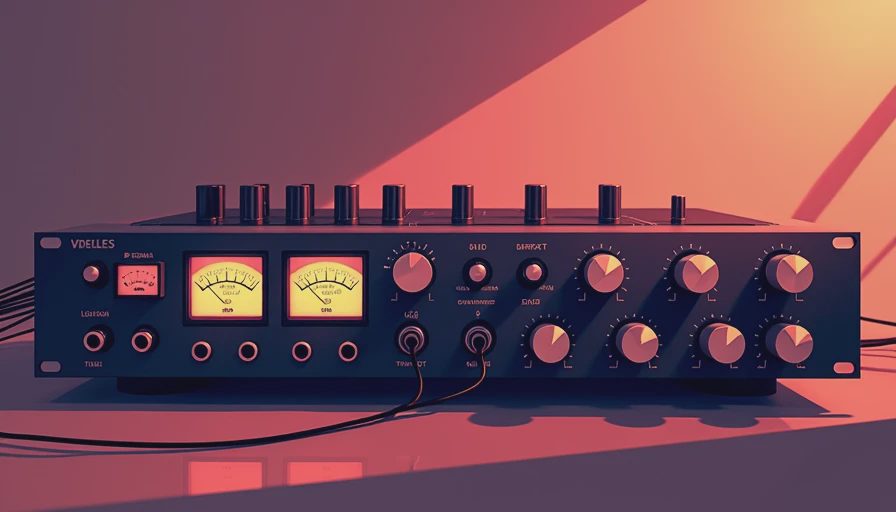
Choosing an audio interface for your setup
Start by counting inputs before shopping. One microphone input works for a solo podcast or a singer-songwriter recording one source at a time. Two inputs let you record a vocal and guitar together, capture a stereo keyboard, or connect two microphones for an interview. Four or more inputs make sense for a small drum setup, a rehearsal room, or a home studio where instruments stay connected.
Look for combo XLR-1/4-inch inputs if you use microphones and line-level gear. Microphones need preamps; keyboards, drum machines, and some mixers usually deliver line-level signals. If you use a passive ribbon microphone, prioritize a preamp with generous clean gain and avoid engaging phantom power unless you have confirmed the microphone is designed for it. Condenser microphones typically need 48-volt phantom power.
Headphone output is another overlooked specification. Some interfaces have enough voltage for efficient closed-back headphones but struggle with high-impedance models such as certain 250-ohm Beyerdynamic designs. A useful audio interface should let you monitor without turning the volume knob nearly all the way up. Separate monitor and headphone controls are also worth paying for because they prevent accidental blasts when switching between speakers and headphones.
USB-C describes the connector, not necessarily the speed or sound quality. A USB 2 connection can handle plenty of tracks. Focus instead on driver support for your operating system, direct monitoring, MIDI ports if you use hardware instruments, and whether the unit has a power switch. The best audio interface is the one that fits your signal path instead of forcing you to buy adapters later.
Models that make sense at different budgets
Around $100 to $180, the Focusrite Scarlett 2i2 and MOTU M2 are sensible starting points. Both offer two inputs, phantom power, monitor control, and enough capability for a voice, guitar, or stereo source. The Scarlett is widely familiar and easy to find; the M2 is appealing if you value its detailed front-panel metering. Neither turns a cheap microphone into a studio microphone, but neither is an obvious bottleneck for a careful home recording.
The $200 to $300 range brings useful refinements. The Audient iD14 offers additional expansion potential through its digital input, while the SSL 2 provides a straightforward two-channel layout and a front-panel monitor mix control. Universal Audio Volt models add onboard processing options on some versions, which can be convenient for a vocalist who wants a little compression while monitoring. Treat those features as workflow tools, not proof that the recorded file will automatically sound more expensive.
For four or more inputs, look at models such as the Focusrite Scarlett 4i4, MOTU M4, or Audient EVO 8. These are more practical for a small multi-microphone setup than buying a two-input unit and immediately needing a second box. Before spending $500 or more, ask whether you need premium preamps, extra outputs, ADAT expansion, or simply more input count. Many buyers are paying for connections they never use.

Measurements that matter, and hype to ignore
Trust your ears. But measure first. For an audio interface, useful measurements include frequency response, dynamic range, total harmonic distortion plus noise, and maximum input level. A flat frequency response means the box is not noticeably changing the tonal balance. Low distortion means the signal remains clean at sensible operating levels. Dynamic range indicates how far quiet background noise sits below the loudest usable signal.
You do not need to memorize every number. If independent testing shows flat response, low distortion, and respectable noise performance, the unit has cleared the technical bar. Differences in preamp character are often exaggerated, especially when comparisons are not level-matched. A louder signal usually sounds more impressive, even when it is not better.
Spend extra money on a better microphone, acoustic treatment, or headphones before buying an exotic converter. A $100 improvement in microphone placement can beat a $1,000 upgrade in conversion. Cables should be properly made and shielded, but a premium cable will not widen the stereo image of a competent interface. Copper is not a mood enhancer.
A practical buying checklist
Before ordering, write down your actual signal chain. Note the number of microphones, instruments, headphones, speakers, and computer connections you use. Decide whether you need direct monitoring for near-zero-latency vocals. Confirm the headphone impedance and sensitivity of your main headphones. Check whether your computer has the required port and whether the manufacturer supports its current operating system.
Then set a realistic budget. For most beginners, $150 to $250 buys a dependable audio interface with clean conversion and enough control to learn recording properly. Keep at least $50 available for a sturdy microphone stand, a balanced cable, or a pop filter if those are missing. A complete, quiet setup beats an impressive box sitting beside a broken cable.
If you already own powered monitors, confirm the interface has the outputs you need. Balanced TRS or XLR connections help reduce hum over longer cable runs. If you use vintage receivers or unbalanced consumer gear, keep levels conservative and avoid randomly combining adapters. Hum is usually a grounding or connection problem, not evidence that you need an audiophile power cable.
An audio interface should disappear during use. You should notice the performance, not a hiss, driver crash, or confusing control panel. Buy for inputs, monitoring, compatibility, and measured performance. Once those are handled, trust your ears and spend the remaining money on music.
This article contains affiliate links where noted; purchases through them can earn the site a commission without changing your price. Review units, when provided, do not guarantee a favorable recommendation.




No notes yet — write the first one.