
I own roughly eight hundred LPs. They’re not museum pieces. They’re working records I pull when I want to hear something the way the mastering engineer left it, surface noise and all. Some are original pressings that still sound better than any digital version I’ve found. Some are recent reissues that quietly fixed problems the first editions never solved. A few are just records I like enough to keep even though the pressing is mediocre.
What I do not own is a collection of magic crystals, expensive spirit levels that cost more than a decent cartridge, or the belief that turntable setup is an occult art reserved for people who speak in hushed tones about “energy transfer.”
Setup matters. Bad setup can make a good record sound thin, distorted, or just plain wrong. Good setup lets the system get out of the way. The difference between the two is almost never the $200 “audiophile” mat or the special grounding wire that claims to eliminate cosmic interference. It’s geometry, force, and a little patience.
I’ve set up more turntables than I care to count—mine, friends’, the occasional studio deck that still got used for vinyl transfers. The process is the same every time. Measure what you can. Listen to confirm. Ignore the rest.
The Only Things That Actually Move the Needle
There are five adjustments that reliably change what comes out of the speakers. Everything else is either secondary or theater.
1. Tracking force (vertical tracking force)
This is the single most important number on most modern turntables. Too light and the stylus mistracks, especially on loud passages or warped records. Too heavy and you accelerate record and stylus wear while often making the sound duller.
Most cartridges list a recommended range. Start in the middle. Use a decent stylus force gauge—digital ones under $30 are accurate enough. Do not trust the tonearm’s numbered dial alone unless you’ve verified it. I’ve seen factory markings off by half a gram more than once.
2. Anti-skate
This counters the inward pull created by the groove. Set it roughly equal to the tracking force as a starting point. Fine-tune by ear if you want: play a record with strong left-right information and listen for balance in the outer grooves versus the inner grooves. Extreme anti-skate settings can do more harm than good. Most of the time, “match the tracking force” is already 90 percent of the way there.
3. Cartridge alignment (overhang and offset)
This is the part that scares people. It shouldn’t. You’re trying to keep the stylus as close as possible to the ideal angle across the record. A two-point protractor (Baerwald or Löfgren geometry—either is fine for home use) and ten careful minutes will get you closer than most factory setups.
Print a good protractor, tape it down so it doesn’t slide, and adjust until the stylus sits correctly at both null points. The difference between a poorly aligned cartridge and a properly aligned one is often more audible than swapping to a cartridge that costs twice as much.
4. VTA / SRA (vertical tracking angle / stylus rake angle)
On many arms this is adjustable by raising or lowering the arm pillar. The goal is to get the cartridge body roughly parallel to the record surface when the stylus is in the groove, or very slightly tail-down for many modern styli.
You can chase this with a USB microscope if you enjoy that kind of thing. Most listeners will hear bigger improvements from correct tracking force and alignment first. Once those are solid, small VTA changes can tidy up the top end or add a bit of weight. Don’t obsess.
5. Azimuth
The stylus should sit perpendicular to the record surface when viewed from the front. A small mirror or a clear acrylic block makes this easy to check. Wrong azimuth increases crosstalk and can make the sound stage feel tilted or the channel balance odd. It’s worth getting right, and it usually takes less time than people fear.
That’s the core list. Level the turntable so the platter is flat. Make sure the belt (if it has one) is clean and not stretched. Keep the stylus clean. Everything else—mat material, platter damping, exotic feet—exists in the realm of diminishing returns or personal taste.
What Doesn’t Matter Nearly as Much as the Forums Claim
I’ve watched people spend weeks debating the sonic signature of different mat materials while their cartridge was 1.5 grams off the recommended tracking force. I’ve seen expensive isolation platforms under turntables that were still sitting on a wobbly Ikea table.
Cable “directionality” on a tonearm interconnect is almost always marketing. The grounding wire that came with the turntable is usually adequate; if you have a hum problem, fix the actual ground loop instead of buying a $150 “ground enhancer.”
Speed accuracy matters, of course. A turntable that runs noticeably fast or slow is annoying. Most modern decks are fine out of the box. If you’re worried, a simple strobe disc and a phone flashlight will tell you more than any marketing claim.
A Practical Setup Sequence That Works
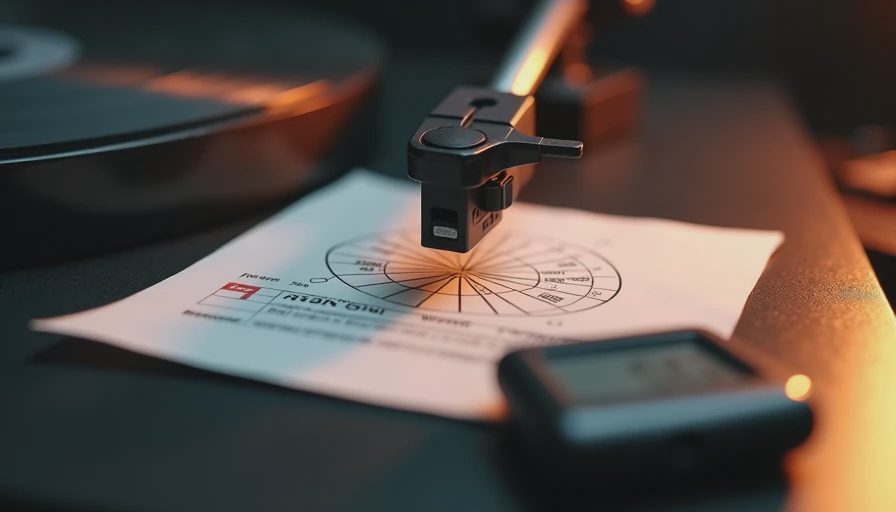
Here’s the order I actually use:
Level the plinth and platter.
Install the cartridge and set rough overhang with the manufacturer’s gauge or a basic protractor.
Set tracking force with a real gauge.
Set anti-skate to match.
Do a proper two-point alignment.
Check azimuth.
Adjust VTA if the arm allows it and the cartridge body looks obviously off.
Play records. Listen. Make only one change at a time if something still bothers you.
I keep a cheap digital stylus gauge and a printed Baerwald protractor in the same drawer as the record brush. That drawer has solved more “my turntable doesn’t sound right” problems than any amount of online debate.
Real-World Example from My Own Shelf
A few months ago a friend brought over a nice mid-century Technics that “just didn’t have the life” his previous setup had. We checked tracking force: 1.1 grams on a cartridge rated 1.8–2.2. Anti-skate was cranked to maximum for no clear reason. Alignment was close on one null point and visibly off on the other.
Twenty-five minutes later the same records had tighter bass, cleaner inner grooves, and a lot less of that edgy distortion he’d been blaming on the cartridge. No new mat. No new cables. No crystals. Just geometry and force.
That story repeats more often than the high-end industry would like you to believe.
Vinyl Is Already a Compromise—Don’t Add Extra Ones
Records are mechanical. They wear. They get dirty. The best pressing in the world still has to be tracked by a tiny diamond that is doing an extremely difficult job. Your job is to give that diamond the best reasonable chance of doing its work without turning the process into a religion.
Once the basics are correct, the biggest remaining variables are usually the record itself, the room, and the rest of the system—not the last half-millimeter of VTA or the material of the mat.
I still enjoy fussing with setup the same way I enjoy restoring old solid-state amps. There’s satisfaction in getting the geometry right. But the moment the ritual starts costing more time and money than the improvement it delivers, it’s no longer setup. It’s theater.
Trust your ears. But measure first. And in the case of a turntable, measuring starts with a force gauge and a protractor, not a leap of faith.


No notes yet — write the first one.